Epoxy resins are used in arts and crafts as well. If you’ve noticed before then you’ll know that epoxies provide anti-skid surfaces.
Here, the materials work in providing smooth surfaces. Hence, different artists work in bringing out their talent with the help of epoxies.

Why Do Artists and Craftsmen Use Epoxy Resins?
Epoxy resins dry quickly and they can be transformed into different smooth surfaces. And, there are different reasons why artists and craftsmen use epoxy resin. That said, let’s take a look at them-
Doesn’t Shrink At The Time Of Curing
If you leave the epoxies to dry, they won’t shrink that much. Hence, the art you put in won’t fade away or break at the time of drying.
Fills in Gap
Yes, you heard me right. Epoxies can fill in different gaps and uneven spots when you pour them on the surface. Here, the epoxies will level those surfaces and smoothen them up. Hence, artists can work in providing a smooth touch to their arts and craftsmen can shape their work easily.
Doesn’t Melt
As epoxies have thermosetting properties, they won’t melt by any means. Hence, craftsmen use heat to transform them into different works. Also, artists use heat into manipulating the shape and creating different arts using epoxy resins.
Normally, epoxies don’t melt because they’re heat-resistant and have thermosetting properties.
Easy Application
Yes, that’s right. Epoxies are easy to apply on the surfaces. In fact, you can just pour them on the surfaces and it’ll start functioning right away.
Due to this ease of work, artists and craftsmen use epoxies in producing their work.
Takes Less Time To Dry
By now, you’ll already know that epoxies take less time to cure and dry. Here, this works as a benefit for the artists and craftsmen. Because they’ll dry out quickly, the artists can start producing their work faster.
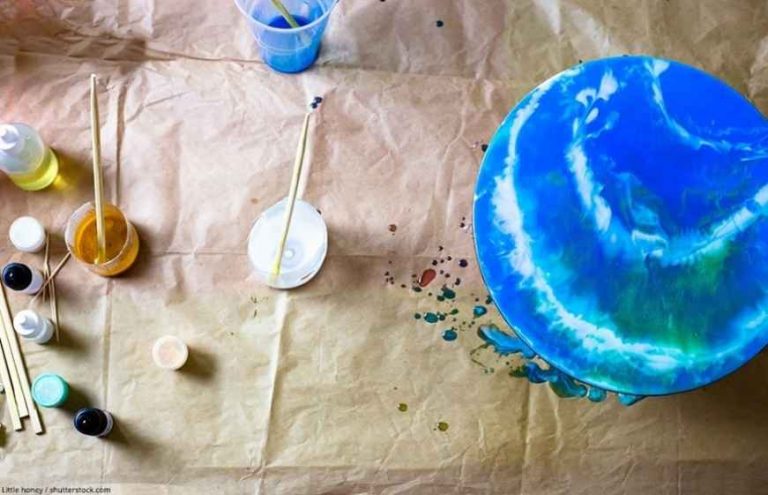
How To Use Epoxy Resin On Arts and Crafts
Epoxy Resins can be used easily on arts and crafts if you know the right ways of doing so. But, don’t worry as we’re here to help. So, let’s take a look at how you can use epoxies on arts and crafts-
Step 1: Measure
Firstly, wear gloves and put in equal proportions of resin with hardener. Here, you’ll need to put in resin and hardener into a mixing cup. Next, get a resin calculator and add in how much resin you need by calculating it.
Here, a tip would be to add in a little bit more than you need. By doing this, you can work later if you need more.
Step 2: Mix
After you add in resin and hardener into the cup, start mixing them up. Here, you’ll need to mix them for 3minutes straight. After you’re done, scrape off the sides and bottom.
Here, make sure you have mixed everything completely. This is because if you have unmixed materials, they won’t cure.
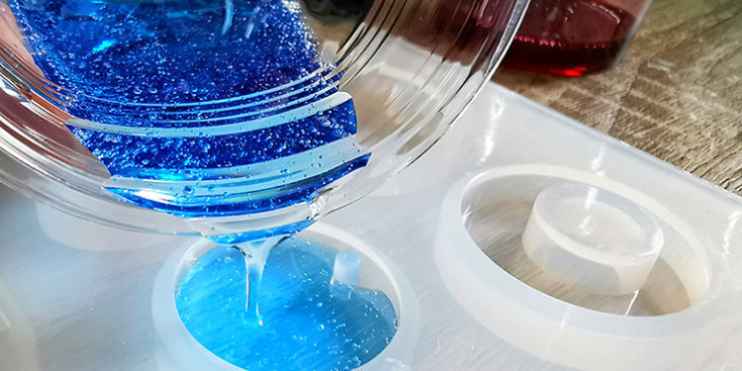
Step 3: Pour
Well, you know how quickly resin dries and cures up. Even though this might seem helpful, it can be a bit hectic. This is because now you’ll need to act and work quickly. So, start pouring the mixture on the surface.
Here, you’ll need the resin to do its thing as it’ll run off the edges and will fill in the gaps. If you see bubbles forming up, don’t worry as they’ll pop off themselves.
A tip here will be to work with wooden panels as they won’t fall under the weight of the resin.
Step 4: Wait
After you’re done working, wait for a few hours as the resin will cure and dry on its own. Here, you won’t require any tools to cure it as it’ll cure on its own.
Normally, it takes 12hours to touch the surface after you apply them. And in 24 hours, the surface will cure to almost 95%. And, in 72hours, the surface will dry completely.
Step 5: Clean
The cleaning process is easy as well. You’ll just have to take a clean cloth and wipe off the materials lying around your surface.