So you just had your radiator flushed, but now you notice that there’s no heat coming out of it. And on top of this, the heater is blowing cold air as well! Now you’d probably be wondering why there’s no heat after coolant flush?
Sometimes your radiator still has air bubbles left inside of it. As a result, it won’t allow heat to come out and lets out cold air. Moreover, sometimes you have an object stuck inside after coolant flush and this could cause issues.
So, what should you do if there’s no heat after coolant flush?
Don’t worry, we’ve got your back. We’ve compiled a list of simple methods that you can follow to fix this issue in no time. Plus, we also talk about why heat won’t come out after a coolant flush.
Furthermore, we’ve organized a FAQ section at the end that’ll help clear most of the other questions you might have regarding this issue.
Without further ado, let’s begin.
Why Doesn’t Heat Come Out After A Coolant Flush?
Well, if the heat doesn’t come out, it’s not normal. It probably means you haven’t done the coolant flush properly. Occasionally, foreign objects or air bubbles might be the source of the problem.
Turns out, even foam in the radiator can cause warm air to not come out. Let’s take a look at some of these factors that contribute to heat not coming out:
Presence Of Air Bubbles
Around 30% of the time, it’s an air bubble inside the radiator that causes heat to not come out. Also, air bubbles might cause the water to be foamy.
But, how to tell if air is in the cooling system? If you have a leak in the radiator cap, air can easily enter the cooling system.
Clogged Up Heater Core
Most of the time when you flush the cooling system, gunk enters into the heater core and clogs it up. As a result, the heater core fails to provide warm air.
Dirt and Rust Inside The Heater Core
Around 50% of the time, dirt and rust are the main reasons why a heater core doesn’t provide warm air. Dirt and rust clog up the core and don’t let warm air come out.
Hence, you’re stuck with cold air. On the other hand, a coolant flush doesn’t always clear the dirt and debris inside the heater core.
Weeping Water Pump or Bad Thermostat
Yes, you heard me right. A bad thermostat or water pump can also cause the heater to stop working.
At times, when the water pump doesn’t work completely, it won’t send water through the engine. As a result, the heat doesn’t stay warm and cold air takes its place.
The Fixing Guide
So, by now you already know what leads to this problem in the first place. But you shouldn’t worry if this problem exists in your car. We are now going to show you how to fix it.
Furthermore, we’ve also outlined the tools you’ll require for the task. If you can repeat the processes and their stages correctly, you’ll be able to get it fixed in no time.
So, without further ado, let’s look at what you should be doing to deal with this problem:
Tools
Yes, you’ll need a set of tools for the job and these are readily available and affordable. So, you can either purchase them online or get them from your favorite local store at convenient prices.
Let’s take a look at what you’ll need:
- Gloves (Link from Amazon)
- Goggles (Link from Amazon)
- Wrench (Link from Amazon)
- Bucket (Link from Amazon)
- Fresh coolant (Link from Amazon)
- Screwdriver (Link from Amazon)
- Flashlight (Link from Amazon)
- Cleaner (Link from Amazon)
Now that you have organized your tools and made all the preparations, it is time to begin!
Method 1: Burping Air Out Of The Radiator
Yes, you heard me right. The air inside the radiator can cause the heater core to stop providing warm water. So, it’s essential that we take care of it. Moreover, this method is simple and you can burp radiator without funnel.
That being said, let’s look at the step-step process:
Step 1: Elevate The Car
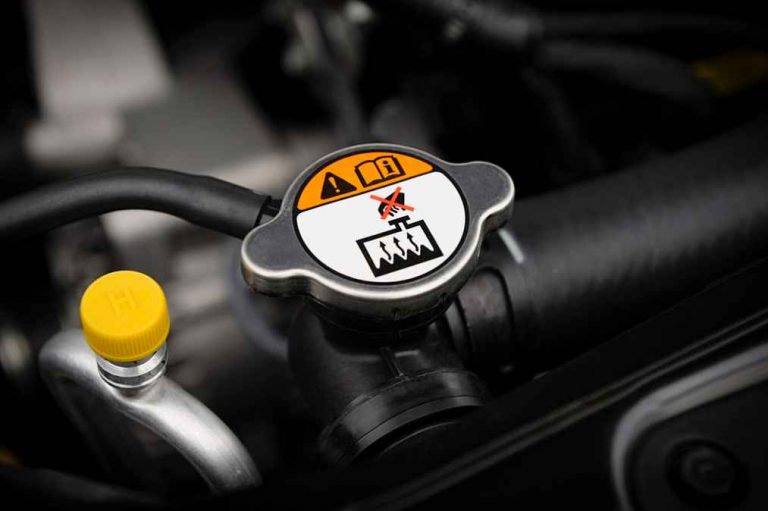
It’s best if you drive the car into the driveway so that the rear is elevated. Afterward, turn off the engine. Use a wrench to keep the bolts in place and take the red cap off.
Step 2: Make Sure The Car is cold
Before you begin, make sure that the car hasn’t been started recently. It’s essential that the car is cold. So, make preparations the day before.
Step 3: Use a Bucket For The Coolant.
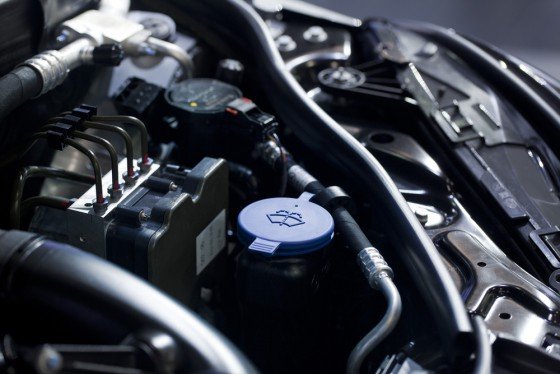
You’ll have to pour fresh coolant into the reservoir cap. But wait, let me tell you something.
As you’re pouring in fresh coolant into the reservoir, you don’t want the coolant to go waste, do you? So, in this case, use a bucket so that you can store the fresh coolant after it pours out.
Step 4: Remove The Reservoir Cap & Pour Coolant.
This step sounds pretty simple, doesn’t it? However, make sure there’s always enough coolant in the reservoir and never let it dry out.
Step 5: Turn The Engine.
After this, start the engine and make sure that the heat is turned on to the max. Keep it that way for a few minutes.
You should always make sure that the reservoir has enough coolant. Remember to not let it dry out any time during this process.
Step 6: Keep The OEM Tube is Higher Than The Bleeding Valve.
Remember to keep the OEM tube at a higher level than the bleeding valve. The bleeding valve will drain to the bucket.
Step 7: Open The Valve & Rev Your Engine.
After this, open up the valve so that the coolant and the air escape into the bucket. Following this, rev the engine of the car. By doing this, most of the air comes out of the car and the coolant gets stored in the bucket.
Step 8: Close Valve
Close the valve and store the coolant in the reservoir. This is why you should put the coolant into a bucket so that you can use it later for the same purpose.
Step 9: Repeat The Process
If the reservoir is dry then you’ll have to repeat the process. You can repeat it 9-10 times or even more until the heater gives off warm air. However, don’t overdo this.
Step 10: Add Coolant & Secure The Cap
Finally, if you feel that all the air is out of the system, put the cap back into its position. And, add the coolant into the reservoir at a max level.
After this, run the car and test whether the warm air is stable.
Method 2: Car Heater Repair
If there’s no heat after the coolant flush, there could be a problem in the heater. So, what should you do? Well, it’s really simple. You can easily repair the heater by following these simple steps:
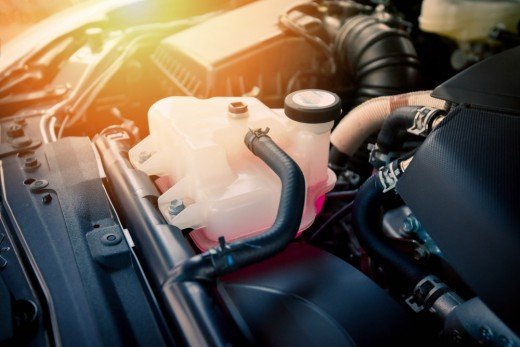
Step 1: Add Coolant/Antifreeze
A heater doesn’t work well if the engine doesn’t have enough coolant or antifreeze. So, make sure that your engine has enough coolant and antifreeze, to begin with.
Apart from this, check if there’s any leak in the reservoir. Due to leaks, the engine fails to receive a sufficient amount of coolant. As a result, the heater fails to provide warm air.
Step 2: Replace the Thermostat
A faulty thermostat can cause the heater to malfunction. Plus, a faulty thermostat might cause the engine to not heat up as well.
If you have a faulty thermostat in your engine, get it replaced. Thermostat replacements don’t cost much and you can get the replacement done effortlessly. That should help with the no heat after coolant flush.
Step 3: Replace the Actuator
An actuator can cause the blend door to malfunction. As a result, the heater fails to provide heat. So, make sure to check if the actuator is causing a problem. If it is causing a problem, get it replaced.
Step 4: Fix the Heater Control Valve
Do you hear a hissing sound when you turn the car on? If that’s the case then you might have problems with the valve of the heater. This valve can cause the heater system to not work.
Generally, a vacuum leak can cause this too. So, you need to get them replaced.
Method 3: Fixing Clogging In The Coolant or Heater Core
After a coolant flush, some of the debris or foreign particles can still get stuck inside the heater core. As a result, this contributes to the heater core getting clogged up. So, you need to fix the clogging issue by following these steps:
Step 1: Take Both Hoses off
Make sure that both the hoses are off. After this, connect the water hose to the other hose. Following this, run the water into the system at a slightly lower pressure.
Step 2: Flush The Cleaner In The System
First, use a cleaner from any local store and flush it into the system a few times. You could even clean the heater core with vinegar.
Step 3: Repeat
Repeat the process over and over. After this, you’ll see that the water coming out is clean.
Step 4: Reattach The Hoses & Cap Off The Radiator
After you see clean water coming out, reattach the hoses and turn the cap off. Make sure the cap is tight.
Step 5: Turn On The Engine
Start the engine and rev it, you should now feel warm air entering. And yes, you’ve got the dirt and air bubbles out of the system.
Frequently Asked Questions
Does coolant flush absorb heat?
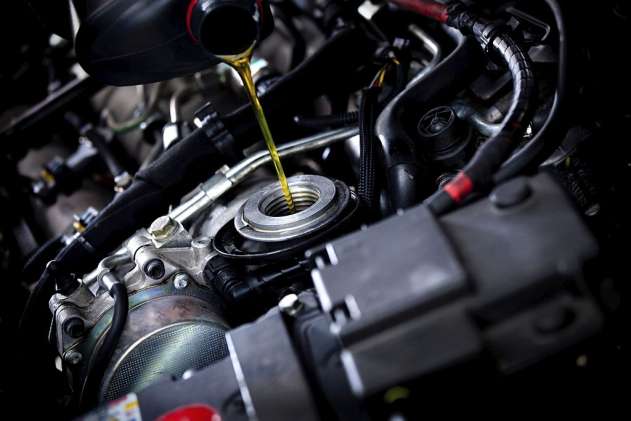
Yes, a coolant flush absorbs the heat from the engine so that it doesn’t heat up. Coolant is full of water and anti-freeze which both absorb heat. What does this mean? It means that instead of transferring all this extra heat to your car’s radiator, you’re extracting it when you do a cooling system service
Do you need a coolant flush?
Yes, it’s important that you get a radiator flush now and then. I recommend getting a radiator flush every six to twelve months for the best cooling system performance and protection from leaks. Radiators should be flushed at least once per year due to minerals in water adhering to the inside of the radiator quicker than an oil change. By flushing your unit, you can keep your engine cooler by preventing stagnant fluid temperatures which lead to engine overheating.
You may also like: How to Flush a Radiator?
Wrapping Up
That’s all we have for you. By now, you should know why there’s no heat after coolant flush and what you can do to fix that issue.
In the end, we’d like to say that these are simple and straightforward methods that you could do yourself. But, if you’re not comfortable, get a professional to do it.
So, why don’t you give it a try? Good Luck.