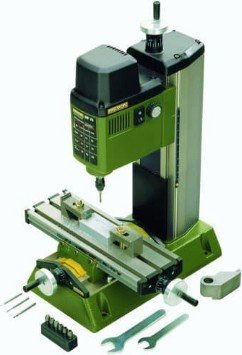
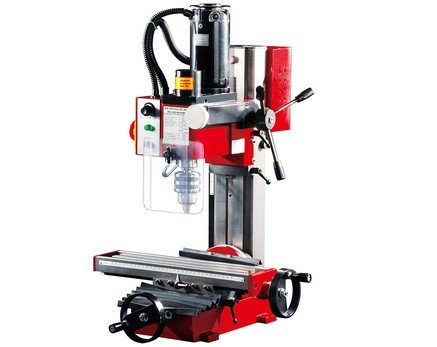
Want to buy a milling table for your work? Why would you spend so much money to buy that; when you could build your own DIY milling table at home. You only need few ingredients to make a milling table with in few hours. If you have a small workshop in your home you can easily make this using your usual tools.
You are not making those workhorse that found is machine shop. That machine has vertical mill of drill press which fitted with the strong bearings. It’s capable of handling side and end loads.
We are not going to take that kind of hassle. For home a basic milling table is fine.
DIY Milling Table 2021 – Built a Milling Table by Following 4 Simple Steps
As a starter you won’t to take trouble to make a complicated machine or spend so much money. That is why we thought of sharing a cost-efficient durable milling table that knows how to cut wood pieces.
If you ever been online or local market a milling table could coast minimum 45-300 dollars depending on its features. Many armatures who often work with wood, plastic or metal pieces like to either buy one or made one by a professional. Instead of that you could try one by yourself following these steps given below.
Required Tools:
You will need
- Drill press
- Table saw
- Miter saw
- M5 (1/8″) & M8 (5/16″) taps
- File
- Chisel
Required Materials:
You will need
- 10mm (3/8″) plywood
- Small woodscrews including washers
- M8 (5/16″) threaded rod
- Two coupling
- Five regular nuts
- Two M3 bolts
- Two T-bolts with nuts
Step 1: Tracks
Start by cutting plywood on the table saw. Take a 3 inch thick wood with one side cut to 45° angle and other side on 90°. You need to make four pieces like this. Now cut out a rectangular wood for the base. You can use same plywood or use other woods for that. Cut the pieces 16X8”. You can adjust the dimension according to the drill press.
Now take some wood screws and join the base with the track. Don’t forget to keep a tiny gap for sliding. Take some small washers and add between the pieces for some clearance.
Step 2: Motion Mechanism
The threaded rod is work for move the base. To make a successful motion mechanism, start with a simple nut. Then drill and tap M3 (1/8 inches) hole in the one side and filed down the opposite side as much as possible. Now cut a small recess using a chisel in the base for the nut to go inside. Now run the M3 (1/8 inches) bolt through the base wood in the nut. Secure the screw tightly.
Now it’s time for some other works. Prepare to drill two coupling nuts axially with the 8 mm (5/16 inches) drill like a bushings for the threaded rod. Take a sheath metal, four bolts with nuts and attach them with the base.
You have to make a handle for the DIY milling table also. Take a scapre aluminium piece to do this job. Cut the aluminium stick in a ncie shape and filed it. Now drill a hole with the same dimension of tapped 8mm (5/16 inches) in the middle. Drill two other hole on the very ends in 5mm (3/16 inches). Now run the threaded rod into the middle hole and add a nyloc counter nut to place that securely. Finally mount two bolts along with coupling nuts as handles in the end holes.
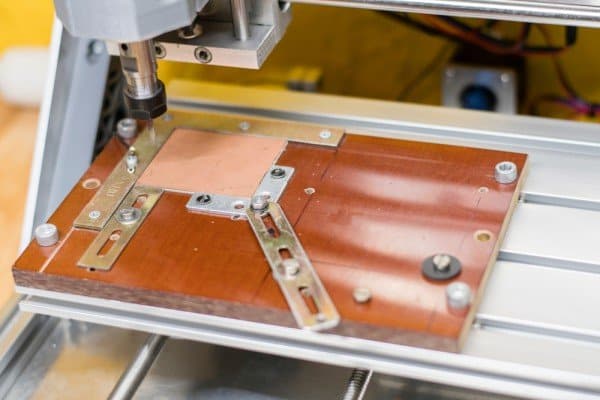
Step 3: Drill Press Attachment & Assembly
We would suggest you tp use somewhat large M10 (3/8”) T-bolts to join the base to make hole to the press table. So, begine with marking the palces for drining holes for the bolts. This lot will make sure they will not shift during fastening. These bolts will hide under the DIY milling table.
Later on, attach the vice to the top of the table. Use the large 6 mm (1/4”) wood screws and the big washer in here. All over again, you need to adjust the dimensions to the vice. For easy processing start with one track dismount from the top. Then lay it on the table, put on the top and use a tiny drill bit to locate the holes. Now it’s time to screw the track to the top. Screw in the threaded rod and secure it in the proper place adding two nuts.
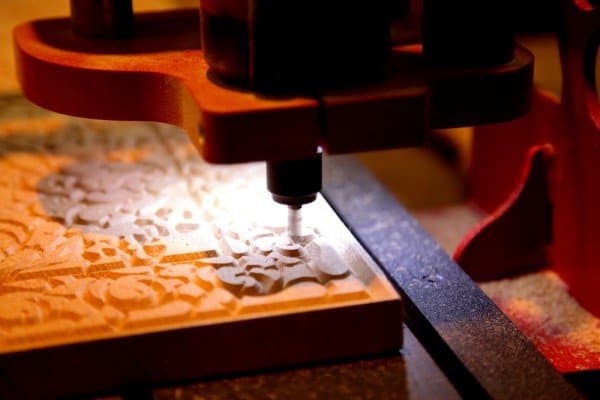
Step 4: Milling
Now the assmbing is complet so its time for test. You can try with a 8mm (5/16”) single flute milling bit, but any router bit will work great too. Just simply mount the bit in the chuck of the drill press. Secures a small piece of wood in the vice and start milling. If you success to follow every steps explain here, chances are it will work well. This DIY milling table could work for cut pretty straight. But thus it’s a small light work DIY, it’s possible the table will shake much.
If you see the table it’s vibrating too frequently, careful with the feed speed. You shour go rather lower to avoid the vibration and any damage to the mill. This vibration cuased by the huge action in the tracks. The fact is the drill press is not made for tolerate radial forces. It could withstand only axile. So, that is the reson behind this inturaption. However, you can also use a drill for power feed.
You may also like:
You can try some other adjustments of the drill press. This DIY milling drill is extreamly versetile and easy to improve. So, trying some new adjustments and add new tools could be great for more good works. And we think that is the main fun of DIY project. Anyone could apply new idea and modify things to make it better, easy or more effective. If you have any idea in making milling table or any other thing you could share with use. We always love to read new ideas, stories, insperations or experience form our reads. Till the good luck and keep the working sprit it on!