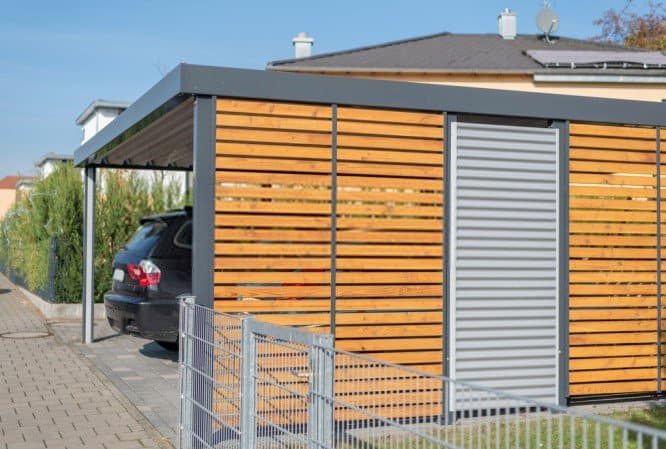
Metal carports are a great way to store and protect your vehicle or other equipment from the weather and they could be used as barns and animal shelters too. They provide cover and shelter, keeping them safe from heavy winds, hailstorms, snowdrifts, or even just regular rain. And they can be built in any size you need. But if you want to enclose the metal carport with wood for added protection and style, there is a little prep work involved!
But you don’t need to be worried at all. In this article, we’ll show you the method of enclosing a metal carport with wood. You see, enclosing a carport creates a lot of extra space and after reading this guide you’ll be able to do it like a pro.
In this step-by-step guide, you’ll learn everything you need to know about enclosing a metal carport. So, without further delay let’s dive in.
Why Should You Enclose Your Metal Carport?
Metal carports have many advantages. First things first, these things are very affordable. Building a carport won’t cost you a lot of money.
Besides, you can easily access your vehicles and other belongings. Metal carports also do a great job of protecting your vehicle from weather and other things.
However, when you’re storing something valuable like an expensive vehicle, security becomes an essential part. In such cases, you can enclose your metal carport with wood.
Now you might be thinking that if you’ve made a mistake buying a metal carport. You might also be thinking if a metal garage was more convenient.
The thing is, you can always enclose it and convert it into a garage. So, here are some of the benefits you get by enclosing your metal carport.
- Your expensive vehicles and other valuable things will get to stay in a secure enclosed space.
- An enclosed carport will give you protection against thieves, vandals, etc.
- Enclosing a carport is way cheaper than buying a metal garage.
- Enclosing a metal carport takes less time than to install a new garage.
- You can easily modify metal carports because of the basic metal framework.
- An enclosed carport can be used as an office or workshop.
- If you want, you can convert your metal carport into a barn. It can be a great shelter for animals. Moreover, you can store hay, crops, and other equipment here.
6 Steps of Enclosing a Metal Carport With Wood
You can easily enclose a metal carport if you’re willing to put in some work. A woodworking project like this can take anywhere between 20 to 22 hours. So, it’ll take two days at the very least.
However, if you have the right tools and materials we’re sure you can do it like a pro. So, let’s get to it.
Tools and Materials
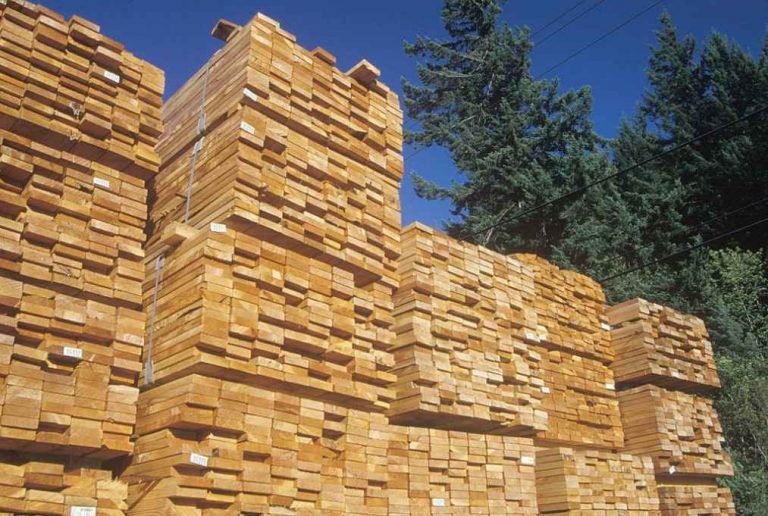
- Wooden Boards (Link from Amazon)
- Cement (Link from Amazon)
- Rebar (Link from Amazon)
- Bolts (Link from Amazon)
- Long Screws (Link from Amazon)
- 2×4 Wood (Link from Amazon)
- Marine Grade Plywood (Link from Amazon)
- Safety Gloves (Link from Amazon)
- Safety Glasses (Link from Amazon)
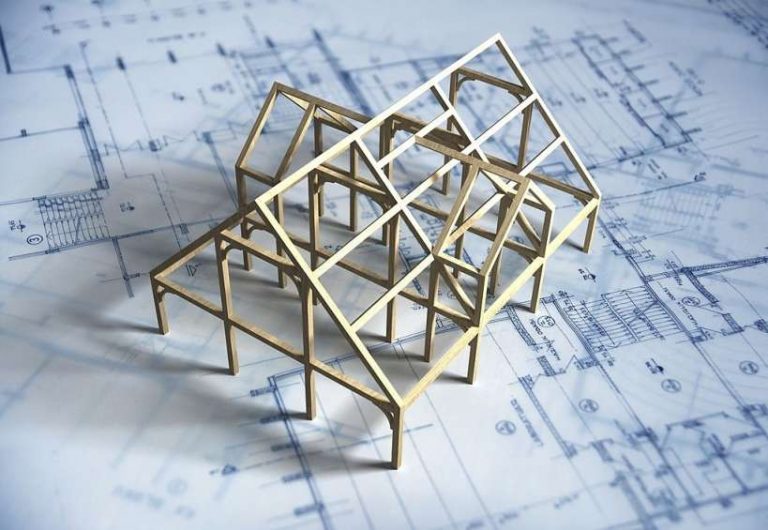
Step 1: Take Preparation
Preparation is a very important part of this project. First of all, you need to clean the carport floor. Clean the entire floor with a broomstick or anything of your choice.
If the carport doesn’t have a concrete base, you need to build one right away. You can make a concrete base by putting concrete slabs. Now you might ask how you can make them.
Well, it’s easy.
You have to make a box of the size of the carport using wooden boards and rebar inside the frame. Next, pour the concrete into the box and wait till it’s dry. You can seal off the concrete with a good quality epoxy if you want.
Needless to say, this extra work will increase the time frame of the project.
A piece of advice, try to level the concrete slab with the rest of your house.
Step 2: Build Frames For The Wall
Now, start measuring the size of your carport as needed to build frames for the wall. You can build the walls using 2×4 boards. Also, you have to place the studs 16 inches apart.
First, you’ll have to put the board on the ground. Then, attach the verticals onto it and add another board on top of those.
You can build these on the ground and easily rotate them in place. You can make a series of these types of frames for long walls. At this point, you’ll also need to cut out the frames for any doors and windows you want to add.
Finally, you need to check how the new walls of your carport deal with water. Although, remember to have a system for draining rainwater to another location.
Otherwise, this water can easily result in wood rot. And repairing structural wood rot is next level.
Step 3: Attach The Frames
You should use bolts to attach the frames to the concrete base. Also, use long screws to secure the new walls to the roof of the carport.
Step 4: Cover The Exterior Walls
You can cover the exterior walls with marine-grade plywood before you add the finishing touch. There are various types of wall covering including sidings that you can use.
Furthermore, you have to install the doors and windows in the openings you cut out. You can choose any type of doors and windows you want. It’s completely up to you.
But make sure that your door stays clear from water. Because water-damaged cabinet doors will need some hefty repairing efforts.
Step 5: Add The Electrical Wires And Insulation
You should let a trained professional do the wiring of your new enclosed carport. You may be able to do it in some states, but don’t do it yourself if you don’t know what you are doing or if you don’t have previous experience.
You also need to sign off the work by an electrician ensuring everything is in its place and no one will be put in danger. So, if you’re allowed or not letting a professional do it seems better, right?
Next, you have to add some insulation. Adding insulation can bring down your cooling costs by 10-25%.
Step 6: Add The Finishing Touches
First, you have to add drywall inside the carport. Then, you have to choose the flooring. You can leave the flooring as it is if you want. If not, then are a variety of options to choose from like tiles, wooden flooring, or carpets.
Finally, you have to prime and paint the interior before adding the furniture and light fixture. As before, you can choose any color you want.
That’s it. Congratulations! You’ve enclosed your metal carport with wood.
5 Mistakes to Avoid While Enclosing Carport
When enclosing a carport many people tend to make some common mistakes. If you know what to do ahead of time, you can avoid these mistakes.
- Dirty Floor
This is a very common mistake for anybody enclosing their carport. You should always clean the floor before you start the project. You see, a dirty floor can create a lot of problems during the project.
- No Concrete Pad
You need to build a concrete base for your carport. This base is going to be the foundation of your carport. So, try to make it perfectly in level.
Many people don’t care to put a concrete base. As a result, the walls get damaged after some time.
However, if you already have a concrete base, make sure it’s thick enough to support the new frames.
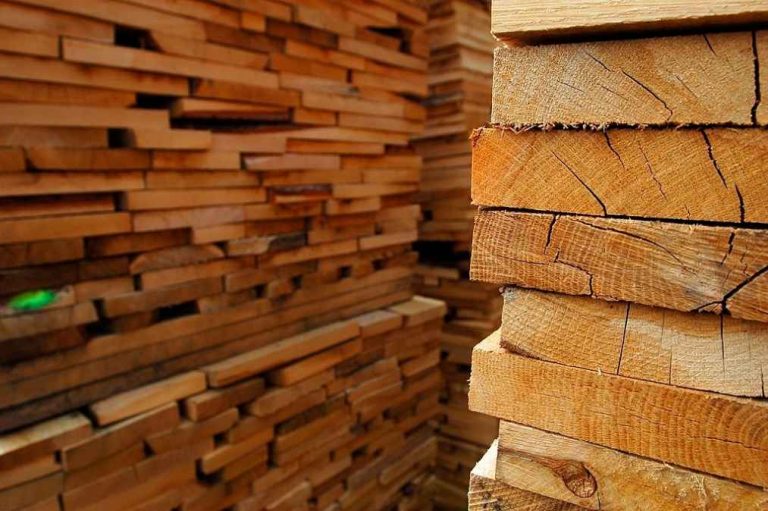
- No Marine Grade Plywood
You need to use exterior-grade plywood on the exterior. The reason is, this kind of plywood doesn’t warp or get damaged by moisture and weather conditions.
On the other hand, interior grade plywood will only last until it rains. Then it’ll warp and bend in no time.
You see, the plywood will also provide extra strength to the wall cover, therefore, improving the durability of the structure.
- No Wiring Before Adding Drywall
Most people add electrical outlets in their carports. Although, you need to do the wiring of the building before you add any drywall.
This way, the electrical wires will blend in with the drywall. Moreover, it’ll also give the carport a professional look.
So, don’t make this mistake and add the outlets while the walls are bare.
- Insufficient Planning
This is the most common mistake people make while enclosing a metal carport. Most people don’t think of creating a plan.
You see, when you have an overall plan and strategy for the project it helps you cover everything. You can do it step-by-step and avoid making mistakes.
You can’t hope to guess your way through everything in this kind of project. You have to take plenty of research and prepare as the measurements need to be accurate.
You may also like: best radiator flush 2021
Wrapping Up
Wooden carports can have different types of customization when you construct it yourself. You can redesign and put your creativity into almost everything.
To summarize, this is all we had to say about enclosing a metal carport with wood. We hope this guide covered all you needed to know about it. Now, go and start making customization to your enclosed metal carport.