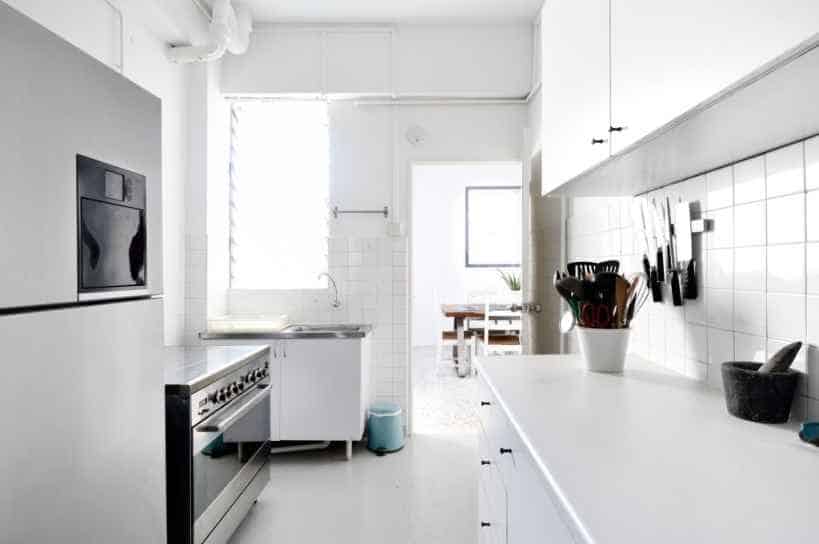
You might be thinking of installing a wall oven. Without it, you’re surely missing out on many delicacies that you can cook in it. Well, it needs to be installed into a particular cabinet space for it to work correctly. So, it’s quite a hassle. But once you get the job done, you can make a lot of fantastic stuff in your kitchen. However, you need to know the best solution for this.
Well, how about you check out these 9 steps that we laid out for you on how to install a wall oven in a base cabinet?
For starters, you will pick a spot and make preparations for attaching the wall oven. You’ll then set the frame for the base cabinet and remove the old wall oven if you have one. After that, you’ll complete the wiring and attach the wall oven to the base cabinet. Then you’ll top it off with a finishing touch.

So, before moving into the steps, let’s check out what we might need.
Some Essentials To Fetch
Here are the things that you’ll need to smoothly carry out the work.
Measuring Tape
Always have this one when you’re doing woodwork. This helps to get the measures correctly, and to skip material waste.
- We Recommended: 60-Inch Double Scales Ruler Measuring Tape (Link from Amazon)
Rubber Gloves
These are gloves, made of rubber or similar insulating materials. This will help keep you safe from electricity.
- We Recommended: GLOVEWORKS HD Industrial Orange Nitrile Gloves (Link from Amazon)
Screwdriver Set
A must have for dismantling and reattaching things for all kinds of installation projects. There are various sizes and combinations available.
- We Recommended: 32-in-1 Small Screwdriver Set with Case (Link from Amazon)
Wire Cutting Pliers
Another handy tool that makes cutting wires easier. The wire will cut easily if you use these.
- We Recommended: IRWIN VISE-GRIP Diagonal Cutting Pliers (Link from Amazon)
Right Angle Bracket
Cables might get hefty while installing a wall over in a base cabinet. You’ll need this for cable management.
- We Recommended: 18PCS L Bracket Corner Brace Joint Right Angle Bracket (Link from Amazon)
Electrical Tape
While working, there might be several loosen up wire ends, which are dangerous. This will make sure that there are no loose wire ends.
- We Recommended: 3/4 in x 60 ft x 0.007in Vinyl Electrical Tape (Link from Amazon)
Now, let’s see how we can install the wall cabinet in a base cabinet in 9 steps.
How To Install A Wall Oven In A Base Cabinet?
Here are the steps for installing a wall oven in a base cabinet. You can quickly get done with the job by following these steps.
Now, the first three steps are for those who want to install a wall oven from scratch. So, you can skip them if you already have a wall oven installed.
So, let’s jump right in.
Step-1: Pick A Spot
Firstly, you’ll have to pick the right spot for your wall oven. This is important because the wall oven needs space to operate.
This step is for your own convenience. Try choosing a place that’s easier to reach and good for the movement. So, it doesn’t obstruct your cooking.
If this is done right, you have solved half of your problems already. So, choose the spot wisely.
Step-2: Take Measurements
It’s time to take measurements of the space you’ll need to place the frame for your wall oven. We’d recommend you to take a professional’s help on this.
But if you do insist on doing it yourself, be our guest. Here’s h
Well, take a measuring tape out and simply measure the width and height of your base cabinet. That should do the trick. Now, note them down well.
Once you’re done measuring, we’ll move to prepare the frame for your wall oven. So, jump right in.
Step-3: Prepare The Frame
Leave this one to a professional carpenter, unless you have experience with woodworks. Because this step is essential if you’re making it all from scratch.
The frame holds your wall oven all together. So, it’s essential that the finishes to the frame are done right.
Otherwise, you might face problems that are life-threatening. We don’t want you to get hurt while doing this. So, we insist on this.
Once you’re done preparing the frame, slide the frame into your base cabinet. Now, it’s time to get to work with the oven.
The next step is for those who already have a wall oven and want to replace it. So, feel free to skip it if you’re building the whole thing from scratch.
Step-4: Remove the Old Oven (If Any)
To start it off, turn off the circuit breaker that supplies electricity to the oven. This is important because it prevents electrical accidents.
Now, just to play it safe, put some tape over the circuit breaker to prevent it from being accidentally switched on.
Once you’re done with the circuit breaker, remove the doors of the old oven first.
Now, remove the anchoring screws and carefully slide or lift the oven out of its cabinet. You may need help with this.
Once you have successfully removed the old oven, proceed to cut the electrical wires going to the old oven. That’s the nail on the coffin for the old one.
Now, you can proceed to the next step.
Step-5: Search for Electric Junction Box or Attach One
The wall oven will need to be connected to an electric junction box if you want it to work. We need to work on this, depending on two scenarios.
If you already have an old wall oven, you can simply use the already installed electric junction box.
Now, a lot of the time, the electric junction box is behind the walls. So, you might have to break the wall behind the cabinet to find it.
On the contrary, if you’re building from scratch, you’ll have to get a new electric junction box attached. But, there is always usually behind the walls.
If you do need to get a new electric junction box attached, we recommend that you get it done by a professional.
Now that we’ve found the electric junction box, let’s move on to the next step, the wiring.
Step-6: Set The New Oven In Place
Time to place the new oven. Start by measuring the dimensions of the cabinet opening. Now, compare it to the required dimensions indicated in the new oven’s documentation.
Moreover, if the required opening is wider than the cabinet opening, divide the difference by two. Then mark and cut half that amount from each side of the opening.
Now, place the new oven near the cabinet in such a way that the attached armored cable can reach the electrical junction box that we just found.
Once you’re done placing the new oven, let’s talk about the wiring in the next step.
Step-7: Complete The Wiring
For starters, attach a right-angle clamp to the cable. Then twist each house wire and corresponding oven-cable wire together. After that, make sure you secure the wires with a wire nut.
Once all that is done, proceed by folding the joined wires neatly inside the junction box, replacing the cover, and attaching the right-angle cable bracket to the cover.
Now, if you previously cut through the wall to access the box, seal the opening completely. The wiring is done. Now, all that’s left are the finishing touches.
Let’s check that out in the next step.
Step-8: Close Up The Oven
It’s time to slide the new oven into place. So, get someone to help you with this task (trust us, you’ll need help).
Now, lift up the new oven and slide it into the cabinet. Take the screws and secure the oven with a screwdriver.
Once all that is done, attach the oven door. And attach anything else that came with the oven from the factory.
That’s it. The oven is ready for use. Now, let’s move to the last step.
Step-9: Turn On The Circuit Breaker
Once you’ve taken care of everything else, turn on the circuit breaker from the circuit box. That’s it. The wall oven is now connected. Congratulations!
Now let’s move on some questions that people frequently ask us.
Frequently Asked Questions
I see that some loose and unused wires are hanging out of the electric junction box. What do I do here?
Don’t cut these wires off, you might need them later on. So cover them with some electrical tape.
What kind of paint do I use if I want to paint the frame for the oven?
Acrylic paint would do the trick for the frame for the wall oven. A light coat would do just fine.
How much space do I need for 30-inch wide wall ovens?
The standard range is 30-inches wide. A built-in oven the same size requires a 33-inch cabinet.
Is installing the angle bracket compulsory?
The installation of an angle bracket is compulsory. It’s needed to hold the oven in place after you slide it in. It is also good for keeping the installation of the whole oven clean.
Conclusion
That’s all we had on how to install a wall oven in a base cabinet. We hope our 9 step guide helped you out.
Here’s an extra tip:
Use cable ties to make cable management easier and apply some paint on the inside of the frame to make it less prone to dust.
Now that we’re done, we’d like to know more from you. So, leave us some feedback in the comments.


