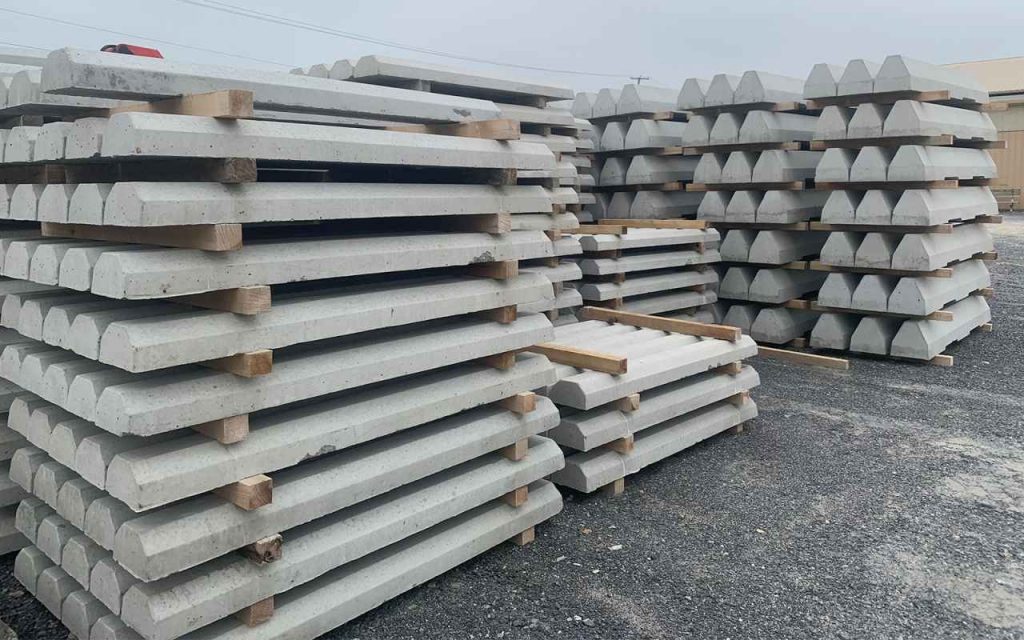
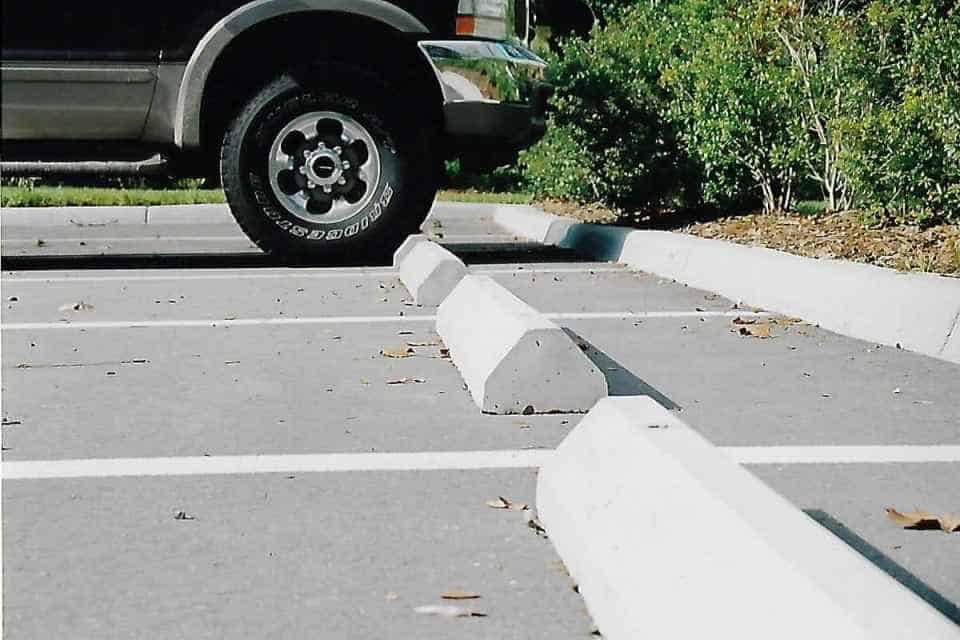
Ranging from installing them to prevent accidents to using them for marking the vehicles’ positions, concrete wheel stops come with versatile uses. To save money and achieve your own customized design without any worry, it’s a great idea to construct these wheel stops by yourself.
How to make concrete wheel stops? The main steps of making concrete wheel stops include building the form and making the concrete block out of it. With precise measurement and careful assembly, making these stops by own-self is very easy.

Read the following elaborated steps to know more-
Step 1- Prepare The Concrete Form:
First prepare the end blocks of the form by taking 2 pieces of 3/4-inch plywood and cutting them in 5″ x 6 3/4″ dimensions. Now make the sides of the concrete form by cutting another two pieces of plywood into 5 1/4″ x 49 1/2″ dimensions. For the base, cut a piece of plywood 5 3/4″ by 49 1/2″.
Taking the end blocks that you cut at the beginning, mark a 15-degree angle from each side of the 6 3/4″ width that’ll form a trapezoid shape. Then, cut off the leftover wedged portion. With the sides you cut just now, attach the previously prepared sides of the concrete form.
Step 2- Assemble The Form:
Now it’s time to assemble the concrete form you’ve prepared. Use wood glue for attaching the plywood.
Set the base of the form and the plywood form you’ve prepared following step 1 on a flat surface using the glue. Let the whole form set and dry for a day.
Step 3- Make The Concrete Block:
Now, prepare the concrete mix of your choice and fill the form with it halfway. After this, place a half inch piece of reinforcing bar that is 44″ long in the middle of the concrete surface.
Now fill the rest of the form with the mix and scrape off any excess product. Tap the form’s sides to fill any gaps and let it cure for at least 6 hours.
Step 4- Cure The Concrete Block:
This is the final step of making concrete wheel stops. After the concrete has dried, bring it out from the form.
Using a wet sponge, smoothen the concrete surface and let it cure for 2 days. Following these steps, make as many blocks as you want and then you’re good to go!
How To Install Concrete Wheel Stops?
After making concrete wheel stops, the time to install them comes. Following even simpler steps than the ones for making the stops, you can conduct the installation process.
How to install concrete wheel stops? Depending on the surface where you want to install the concrete wheel stops, this process usually comprises three main steps: marking the stops’ positions, prepping the surface, and firmly positioning the stops. For the installation process, depending on the surface, you’ll require some tools like hammer drill, wrench, sledge hammer, wedge or lag bolts, and washers.

Let’s know the process step by step down below-
Step 1- Mark The Stop’s Positions:
First step in the installation process is to mark the surface where you want to install the concrete wheel stops. This is very important.
First place the concrete blocks on the surface and mark the positions. Then remove them.
Step 2- Prepare The Surface:
After removing the blocks, it’s time to prep the surface for the permanent installation. This process is different depending on the surface of your choice.
First, drill a hole in the middle of each marked position following the molded holes of the concrete blocks. Then, depending on the surfaces’ natures, place steel spikes, lag anchors or wedge bolts inside the holes.
Step 3- Install The Stops On the Surface:
Now it’s time to finally install the wheel stops. Place all the blocks in such a way that the molded holes line up vertically with the spike, bolt or anchor on the surface.
After this, apply hand pressure and tighten the grip of the anchors or bolts where needed. Then, you’re done and good to go!
If you want to stain your concrete then click here to read about concrete stain or best concrete stain.
Wrapping Up
In this article on how to make concrete wheel stops, we’ve tried to cover a fun concrete related DIY project, that is, concrete wheel stops. We’ve given here the necessary steps you need to follow for making and installing the stops.
If you’re planning to carry out this project, we wish you all the best and hope our article will be of some help.


