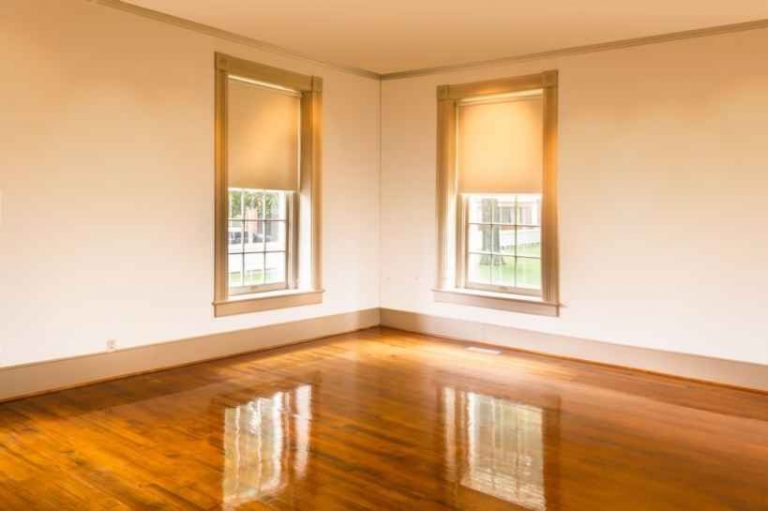
If you have cabinets in your kitchen, they will wear out with time. Wood stained cabinets make kitchens aesthetically pleasing. But if they start peeling off, they lose their appeal. Along with that, they also become more vulnerable to damage. But if you can repair that in time, no harm will be done.
Well, how to repair peeling stains on wood stained kitchen cabinets then?
At the beginning of this 10 step process, you’ll start by defining the problem and taking preparations. Then, you’ll buff the surface with some sand paper, fill the holes with some wood putty and apply a new coat of stain. To finish it off, you’ll apply a polyurethane coat for protection.
Those were all the bits that we’ll cover here. So, let’s start learning by getting to know what essentials to grab for this job.
Grab These Essentials
Before you start fixing those peeling stains on your wood stained cabinet, you should get these things so that you can get the job done without interruptions.
Screw Driving Kit
You’ll need this for opening the cabinets. The size combination will depend on what kind of purpose you’re up to.
- We Recommended: JAKEMY Screwdriver Repair Toolkit (Link from Amazon)
200-Grit Sandpaper
These will smoothen the surface. Beware about selecting the grit number, as there are several of them in the market.
- We Recommended: Fandeli Assorted Grits Sandpaper (Link from Amazon)
Cabinet Stain Marker
This is for small scratches that will be on your cabinet surface. These are available in different sizes and colours.
- We Recommended: Minwax Wood Finish Stain Marker (Link from Amazon)
Putty Knife
Applying putty through hands might get hectic and inefficient. Hence, you’ll need this to apply the putty.
- We Recommended: Red Devil 2″ Flex Putty Knife (Link from Amazon)
Wood Putty
These are dedicated putties that work great on any wooden surface. They will cover the larger holes on the surface.
- We Recommended: J-B Weld Stick-7 inch Epoxy Putty (Link from Amazon)
Bristle Brush
For applying the coats evenly. Make sure that the brush is bristle enough otherwise the application might go wrong.
- We Recommended: Boar Bristle Brush (Link from Amazon)
Among other tools, Wood Stain and Polyurethane Varnish: For a protective finish will be needed.
How to Repair Peeling Stain on Wood Stained Kitchen Cabinets?
Let’s get started with the repair then. Follow these 10 steps very carefully to get the work done quickly and easily. Begin with the first step, finding the place of the problem.
Step 1: Clear Out The Problem
Firstly, we have to find where the peeling stains are and all specifics. Because a saying goes, “A problem well defined is a problem half solved.â€
You can repair a peeling stain by spot repair or stripping and refinishing the surface. But, it depends on what type of finish was used before and what kind of wood was used, and what damage was done.
You’ll have to find out the type of wood your kitchen cabinets are made of. This is important because methods of solving this depend more on the type of wood.
It also helps to know how the kind of finish that was applied previously. If you find out all these things you can easily solve this issue.
Here, we’ll be doing a spot repair job to repair the peeling stain.
Step 2: Make Preparations
Secondly, we have to make sure that the wooden cabinet, that has the peeling stain on it, is ready for the job. You’ll have to open the doors and clean it too.
Start off by removing the removable parts. This includes the doors, drawers fronts, and any type of hardware. You’ll only need the screwdriver for this.
It won’t take much time to complete this. It’ll take you ten minutes if you’re used to this work and a half an hour at maximum if you aren’t.
Now, it’s time to clean the surface of the cabinet. Old cabinets end up with a lot of greases, grime, and dirt over them.
Otherwise, the new coat of stain that you’ll apply later on will not work on the surface. So, cleaning the cabinet surface is critical.
One way of doing this job is by using trisodium phosphate mixed with water. However, others will tell you to use mineral spirits. So, that’ll help.
Step 3: Wipe Down With Damp Cloth
Once you have completed the preparations, wipe the whole surface with a damp cloth to get rid of any foreign material on it.
Try to leave no spot untouched as it’s very important that you wipe the whole surface. Because you can’t have any residue left from the mineral spirits or trisodium phosphate mixed water.
we’ll start the whole process after one other step.
Step 4: Let It Dry
Now that you’re done cleaning and wiping the whole surface of the cabinet(s), you’ll need to let it dry.
We’ll be working with sandpaper next. So, for this to work, we need to make sure the surface is dry. Otherwise, the sandpaper won’t work.
Leave the cabinet to dry for several hours. Because it needs to be absolutely dry when you’re carrying out the job. Try using a fan or something similar.
Once it’s completely dry, move to the next step.
Step 5: Buff With Sandpaper
So, let’s get the actual work started then. We’ll start by covering the scratches, the dings, and the dents.
So, how do we do that?
We buff it with some sandpaper. Here’s a point to be noted. Make sure the sandpaper is 200-grit. Otherwise, it won’t work right.
Now, buff the surface uniformly to get rid of the scratches, dings, and dents. This will make the kitchen cabinet’s surface look more polished.
Once you’re done dealing with this issue, you can move on to the next step.
Step 6: Apply Cabinet Stain Marker
Now that we’re done with handling the scratches, dings, and dents, we have other problems to tend to.
You’ll need to cover all the small flaws now. These flaws aren’t as big as large dents but are worse than scratches.
We can solve this by using a stain market. Now, let’s see how you can apply a stain marker.
Start by shaking the marker well. Then, take the cap off and run the marker or some scrap paper or wood to get the stain flowing.
Now, apply the stain on the wood carefully. Once that’s done, wipe the excess stain off with a piece of cloth.
Replace the cap tightly after use. Because you’ll want to use it again sometime in the future.
Store the market on its side. In case the tip dries and hardens, soak it in mineral spirits for later use.
Here’s a cleaning tip:
Use mineral spirits or paint thinner following the manufacturer’s instructions on safety.
Move on to the next step for taking care of larger dents.
Step 7: Use Wood Putty For Larger Dents
Larger dents can cause quite the problem because they are easily visible. This can be solved by using some putty for the job.
Here’s how you can do it:
Make sure the kitchen cabinet surface is dry and sanded. This is essential if you want the putty to settle in well.
Now, take some putty on the putty knife and start filling at the edge of your damaged area. Gradually fill up the whole area.
Overfilling would be a nice touch to make sure that the whole place has been taken care of. Now, smooth over the area using the back of your putty knife.
Once you’ve applied the whole thing properly, let the putty dry. It might take from 15 minutes to even 8 hours depending on how much you have applied.
Move on to the next step once the putty is dry enough.
Step 8: Use Sandpaper Again
You have applied fillers and stain to fix the damage. Now it’s time to start working on the finishing.
Start off by sanding the surface with 200-grit sandpaper again. This makes sure that the surface is smooth again for use.
Sand with care because this will affect the final outcome of your work. Once you’re done here move on to the next step.
Step 9: Apply New Coat Of Stain
Let’s add a new coat of stain to add a nice touch to the kitchen cabinets. Take a bristle brush or a foam. A cloth with work as well.
Start by brushing against the grain. This will help fill deep pores with stain. Increase the pressure if you’re working oak, mahogany, or ash wood.
Now, let’s move on to the last step.
Step 10: Apply Polyurethane Coating
This final step is for increasing the protection of your kitchen cabinets. A polyurethane coating will protect it from corrosion or damage.
Apply the polyurethane coating with a bristle brush. Brush it over the surface gently and make sure it covers all of it.
Once you’re done applying the coat, you’ve finished repairing the peeling stains.
Frequently Asked Questions
Will applying stain to an already finished surface change its color?
If you apply stain over a finished surface, it’ll not change the color of the wood. It’ll just cover the areas that are exposed due to a peeling stain.
How long should I let the wood putty dry?
The wood putty can take from 15 minutes to somewhere around 8 hours to dry. This depends on how much you have applied to the damaged area.
Does wood stain provide protection?
No, wood stain doesn’t provide protection. It’ll only provide a clean finish to your work. But, if you’re looking for protection from corrosion and damage, polyurethane would be your best bet.
Conclusion
That’s all we had on how to repair peeling stain on wood stained kitchen cabinets. We hope this was helpful to your cause.
Following these 10 steps would easily help you work your way through. But you can also find other methods out there if this doesn’t suit your needs.
So, let us know what we did right or where we lacked in the comments below.